

In this article we will look at the content of the «Settings» section. Here you can connect communication channels, set up integrations, payment acceptance, a browser bot and access to a project.
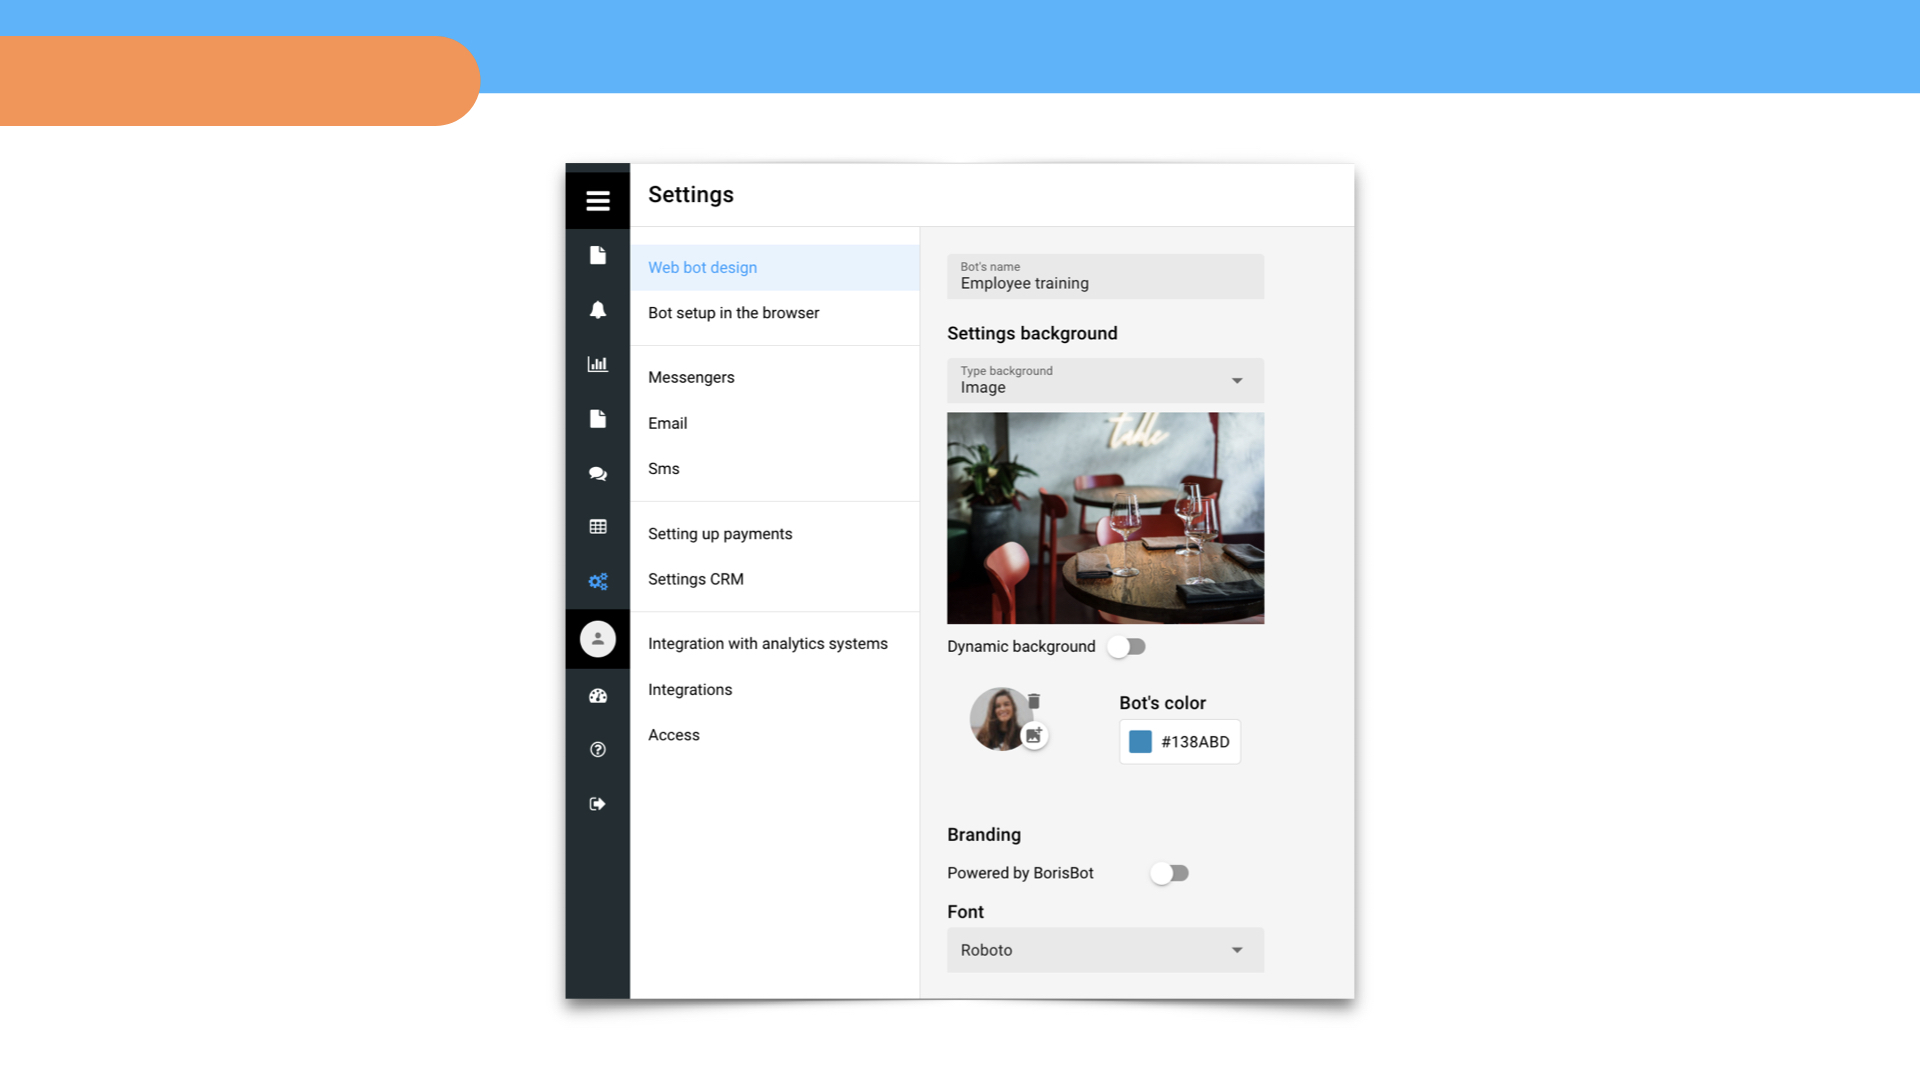
Web bot design
You can customize a bot's design in a browser: name, background, avatar, button color and text font.
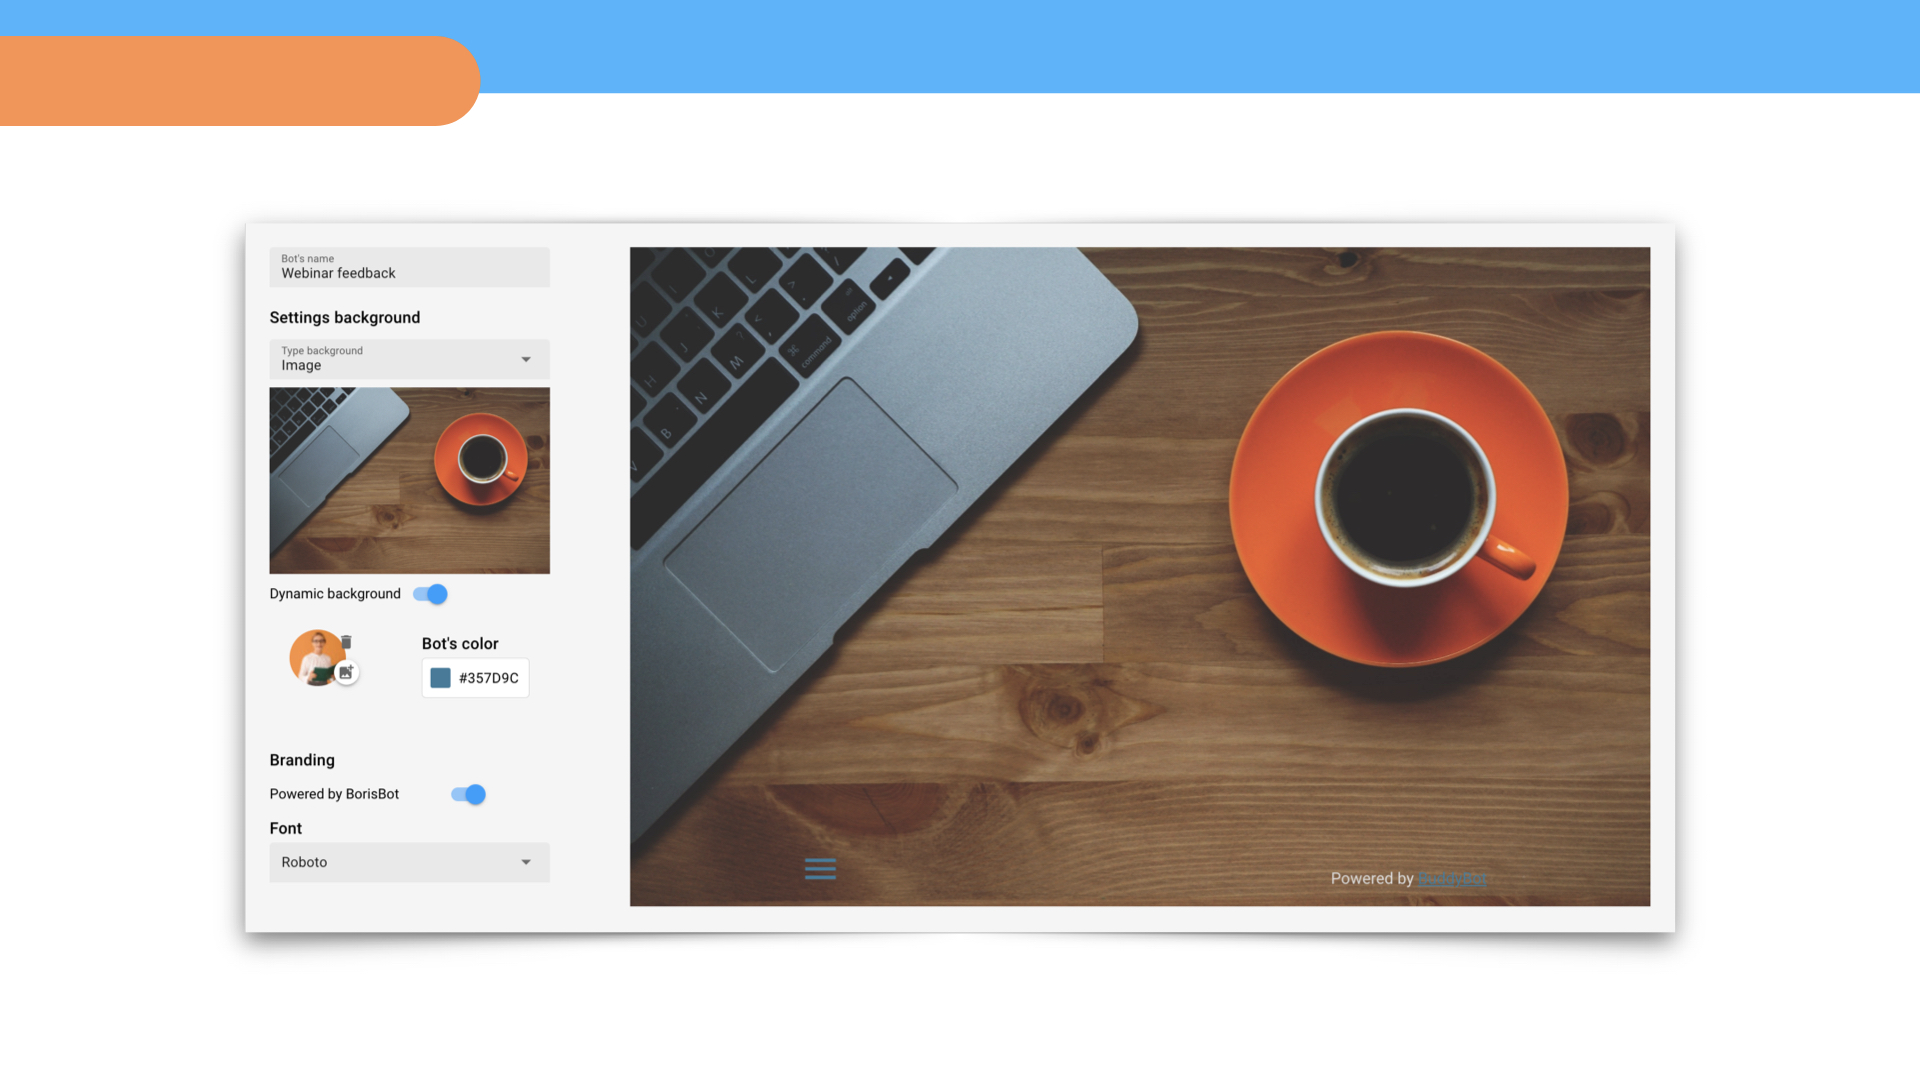
All settings are on the left side of the block, on the right is a preview.
Bot name is what the tab in a browser is called when a bot is launched. The line is automatically filled with a project name, but you can change a bot's name anytime.
The background is the color, image, or video on which a bot's messages and buttons are displayed in a browser.
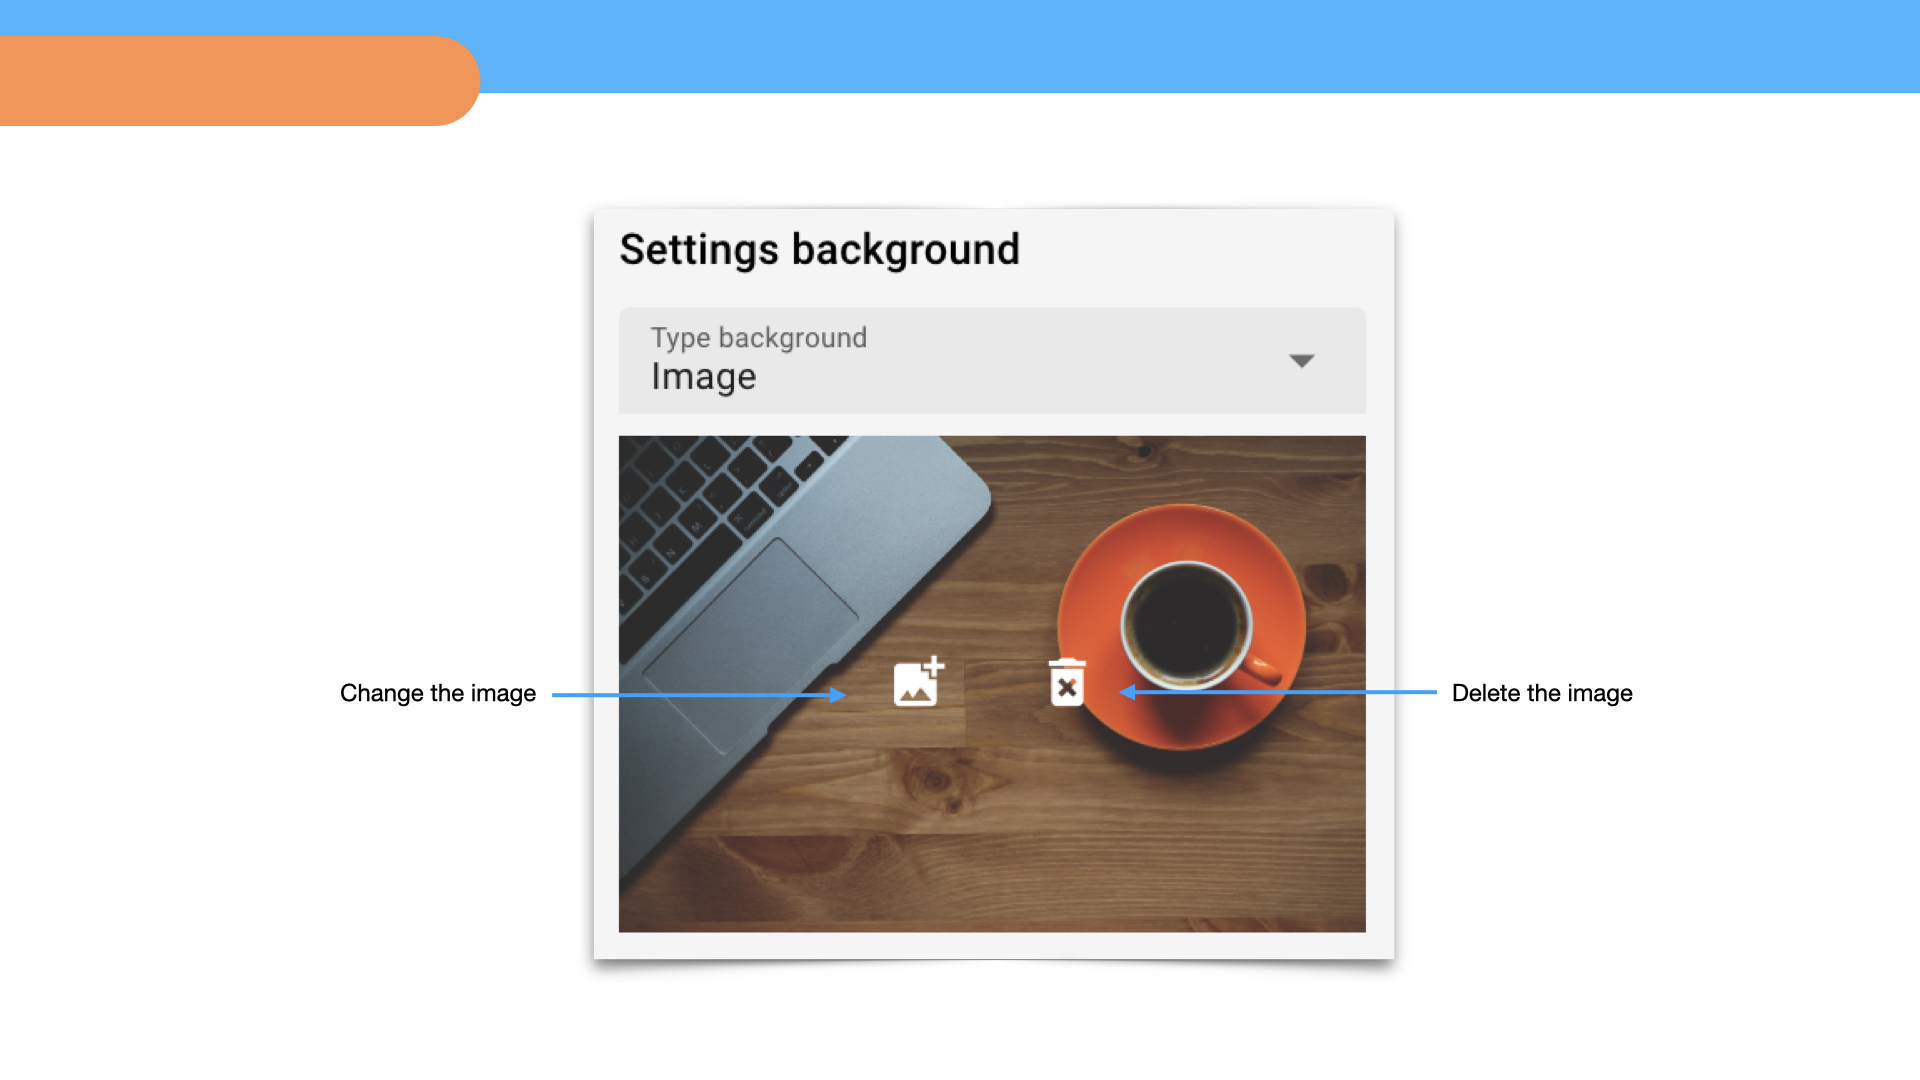
Types of backgrounds:
Image – uploaded image in jpeg or png
Color – selected color
Video – downloaded video in mp4 format
The Dynamic background option adds animation to the background.
To upload an image or video, select this background type, upload the file.
To replace an image or video, click on the Plus icon; to delete, click on the Trash icon.
Avatar is an image of your bot that is displayed in a browser and instant messengers. It supports jpeg and png formats.
Branding is the inscription Powered by BorisBot in a browser version of a bot. It can be disabled in Business and Pro plans.
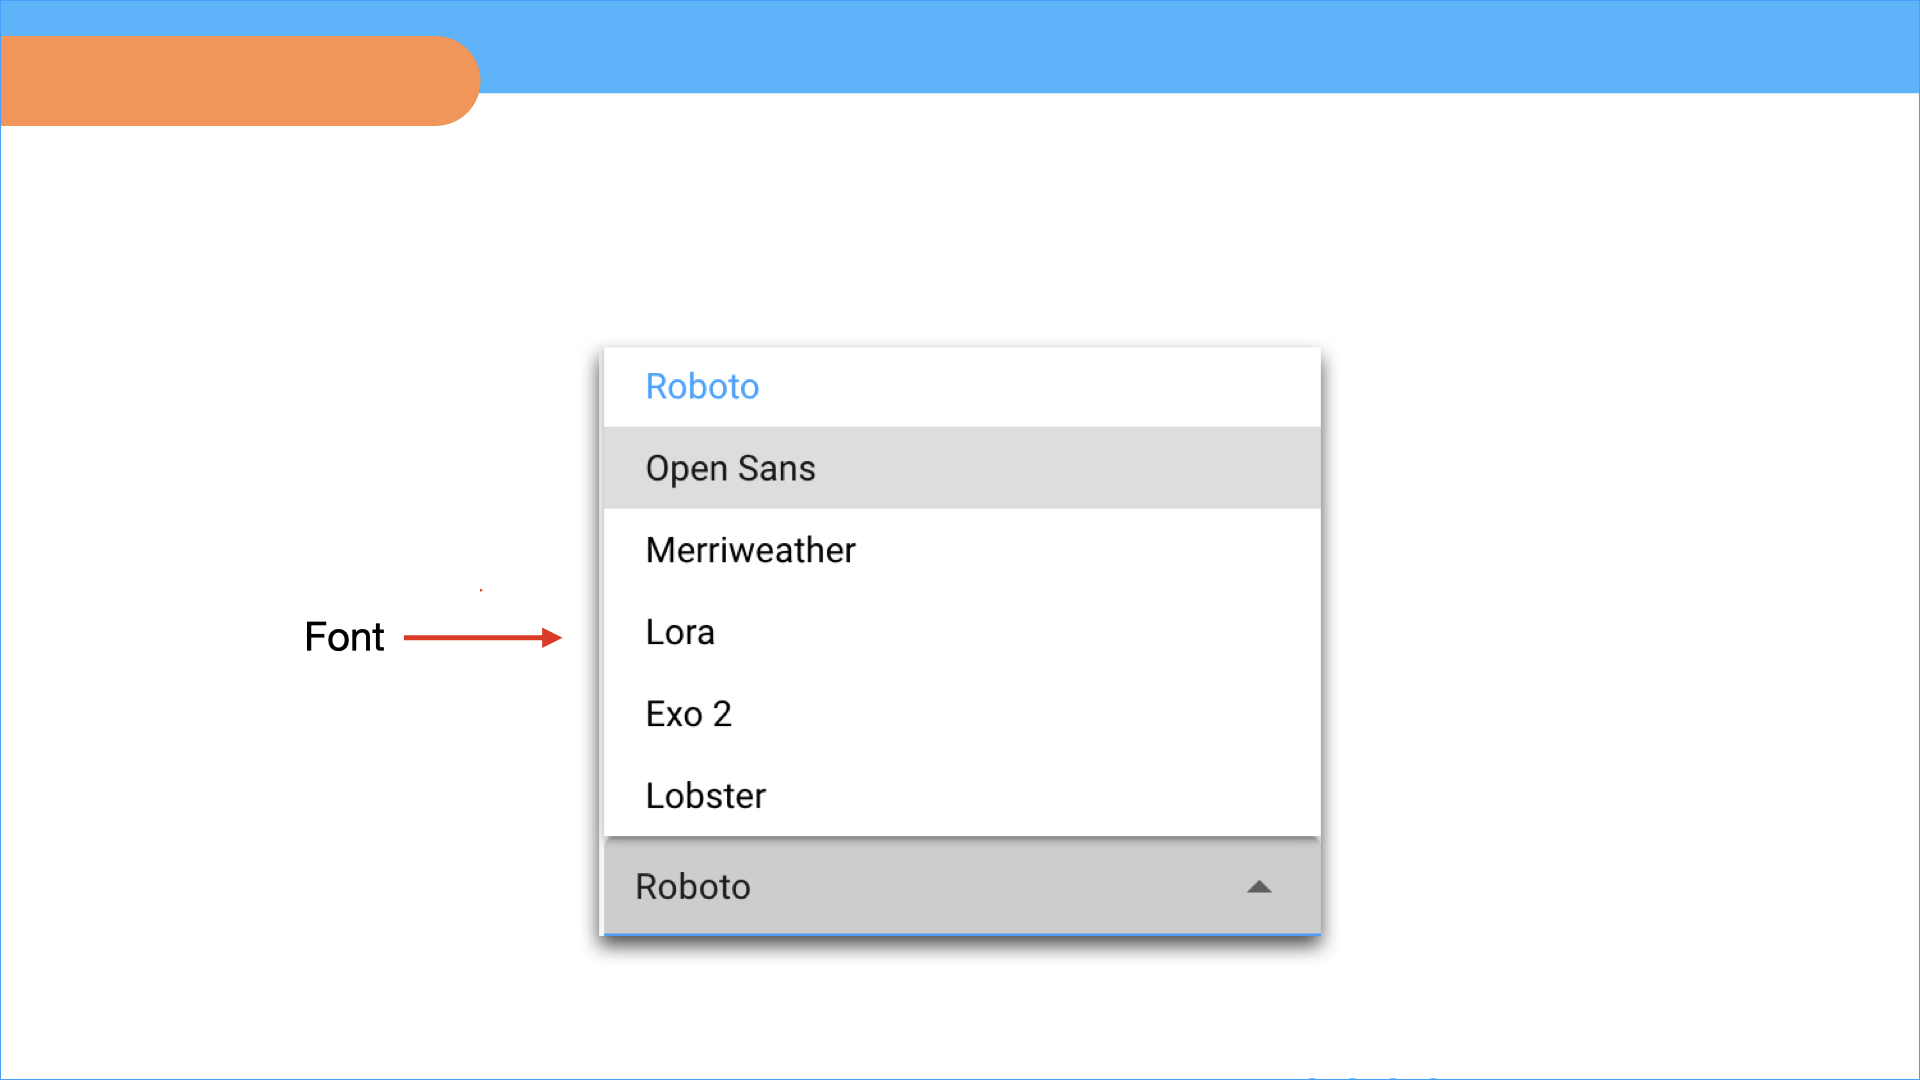
Font is used in message text and buttons. The default font is Roboto, but you can change it.
Browser bot setup
You can set up a widget on a website in the form of a chatbot.
Widget is an interactive block that is activated on a website when a visitor goes to a page or performs an action. It helps collect applications and communicate with users.
Widget forms:
Connect to the website – displayed on the entire website page
Block on the page – displayed in any of the website blocks
Widget – displayed in the bottom corner of the screen
Widget avatar is an image of your bot
Trigger message launch – the moment when a widget is activated
Immediately – as soon as a visitor enters a website
By event – when a visitor performs some action: clicks on a button, enters a section, goes through a certain script
Widget code is embedded into your website.
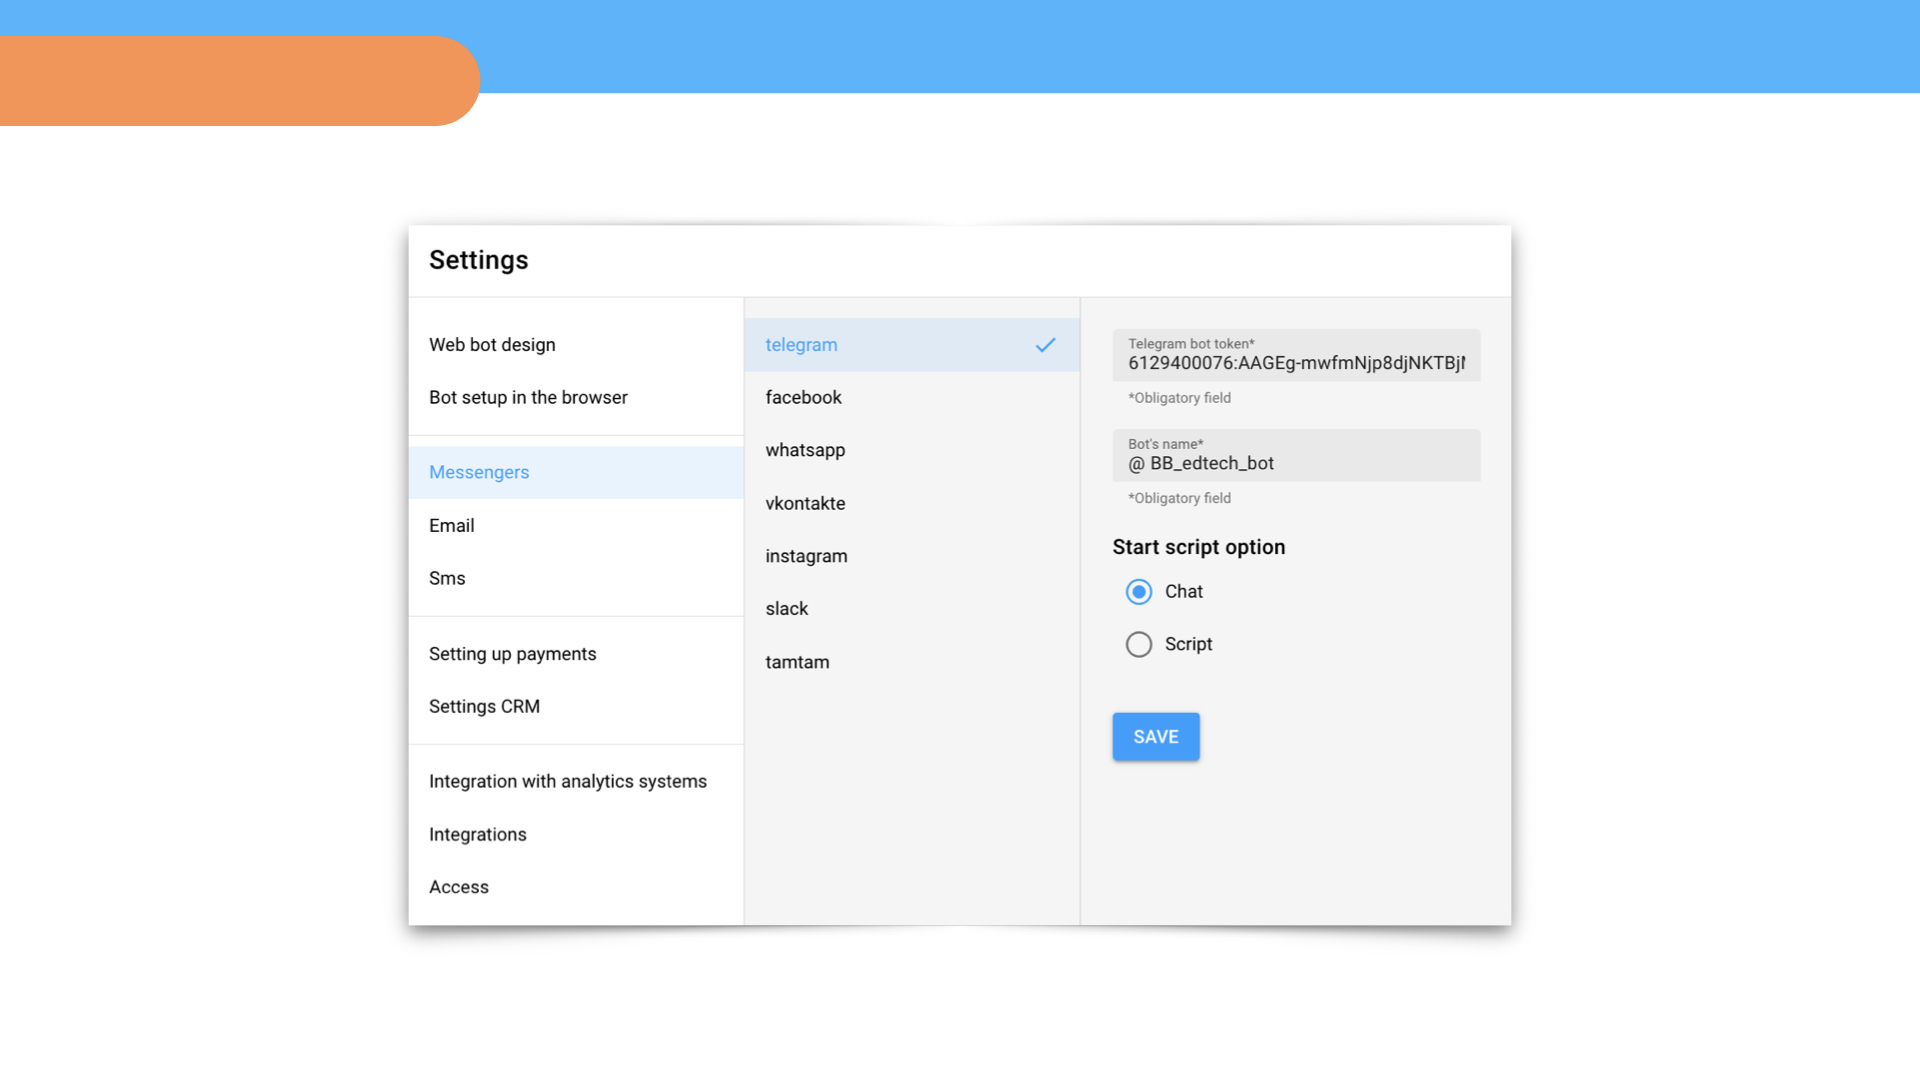
Messengers
In this block you can connect instant messengers to communicate with users: Telegram, Facebook, VKontakte, WhatsApp, Instagram, Slack, TamTam.
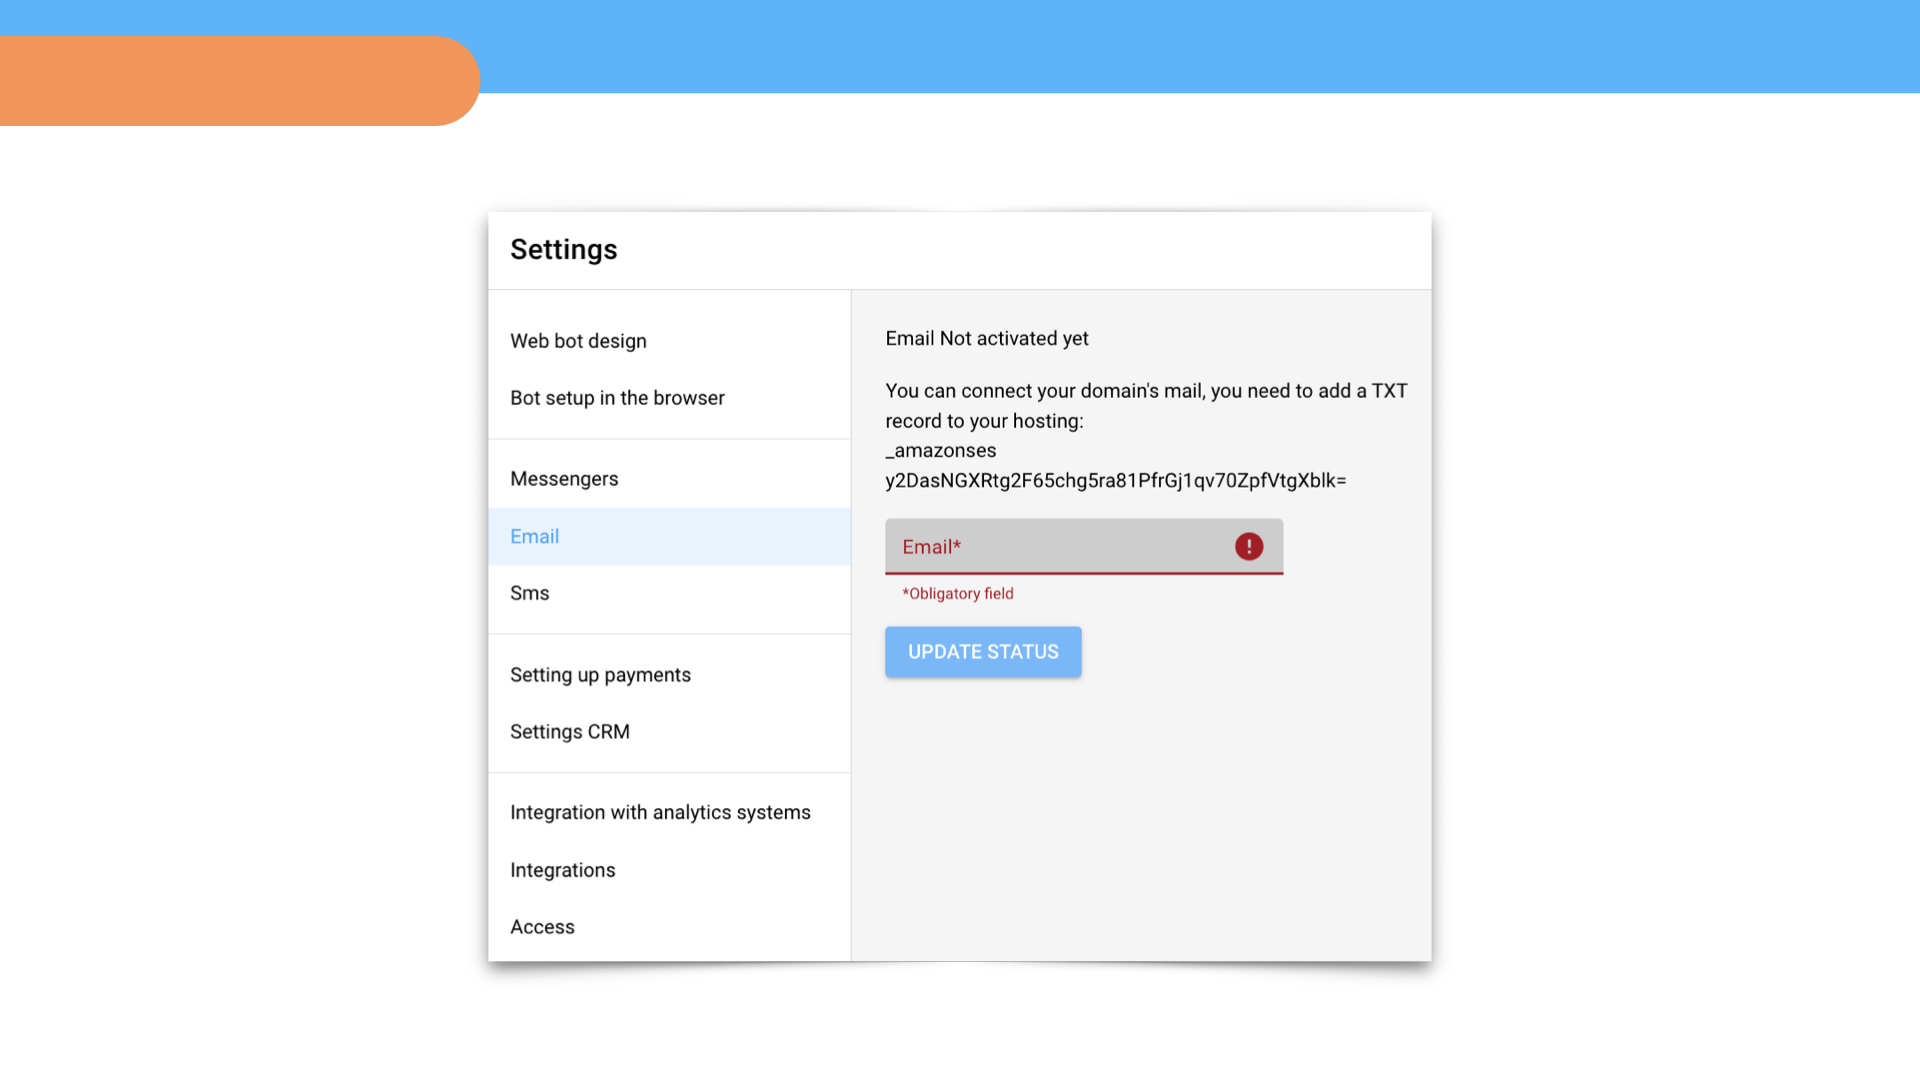
In this block you can connect Email to send newsletters by email.
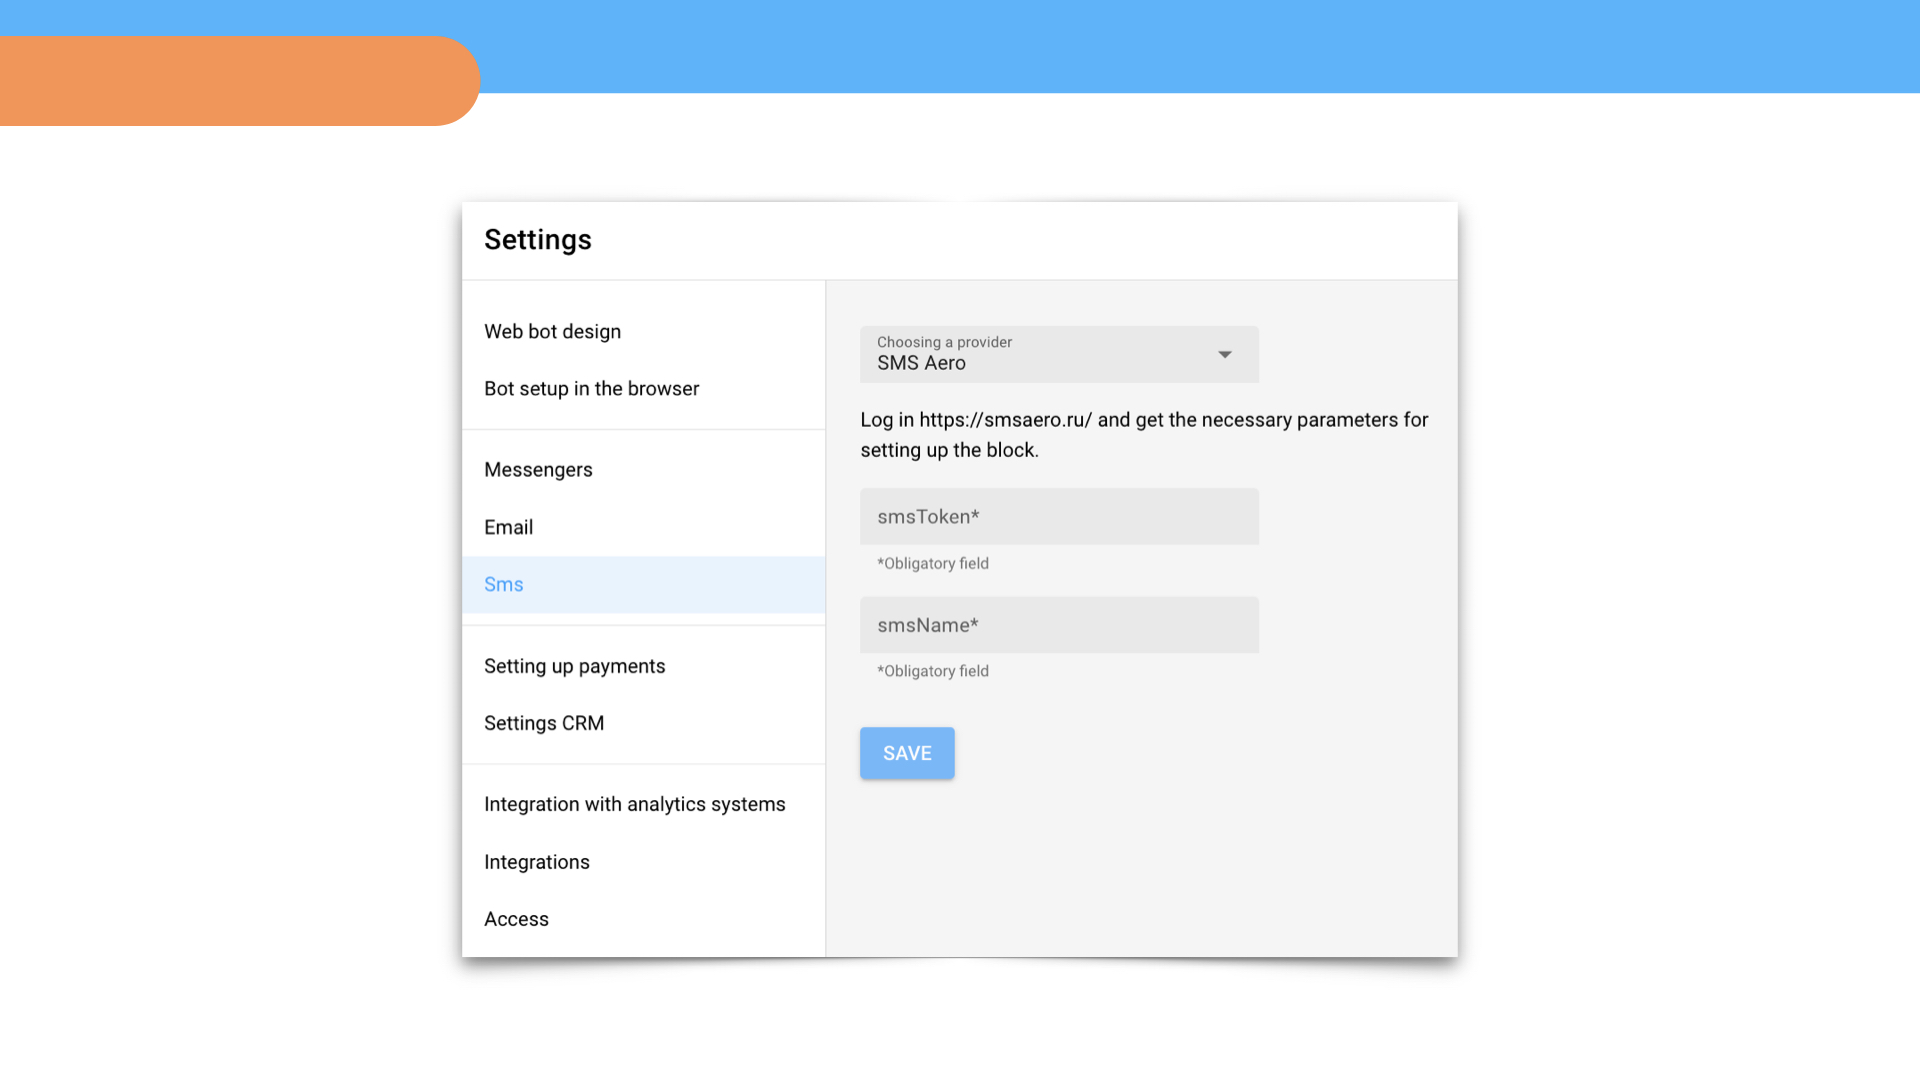
SMS
In this block you can connect SMS to send messages from a dialogue with a chatbot or via a webhook with a transition to the bot. This mechanic helps initiate communication with users: you send an SMS with a link to a script, after clicking on which the chatbot script is launched.
Payment acceptance
In this block you can enable payment acceptance within a chatbot using the following services.
CRM setup
In this block, you can configure the integration of a chatbot with your CRM to automatically collect data about users and transfer it to the CRM system.
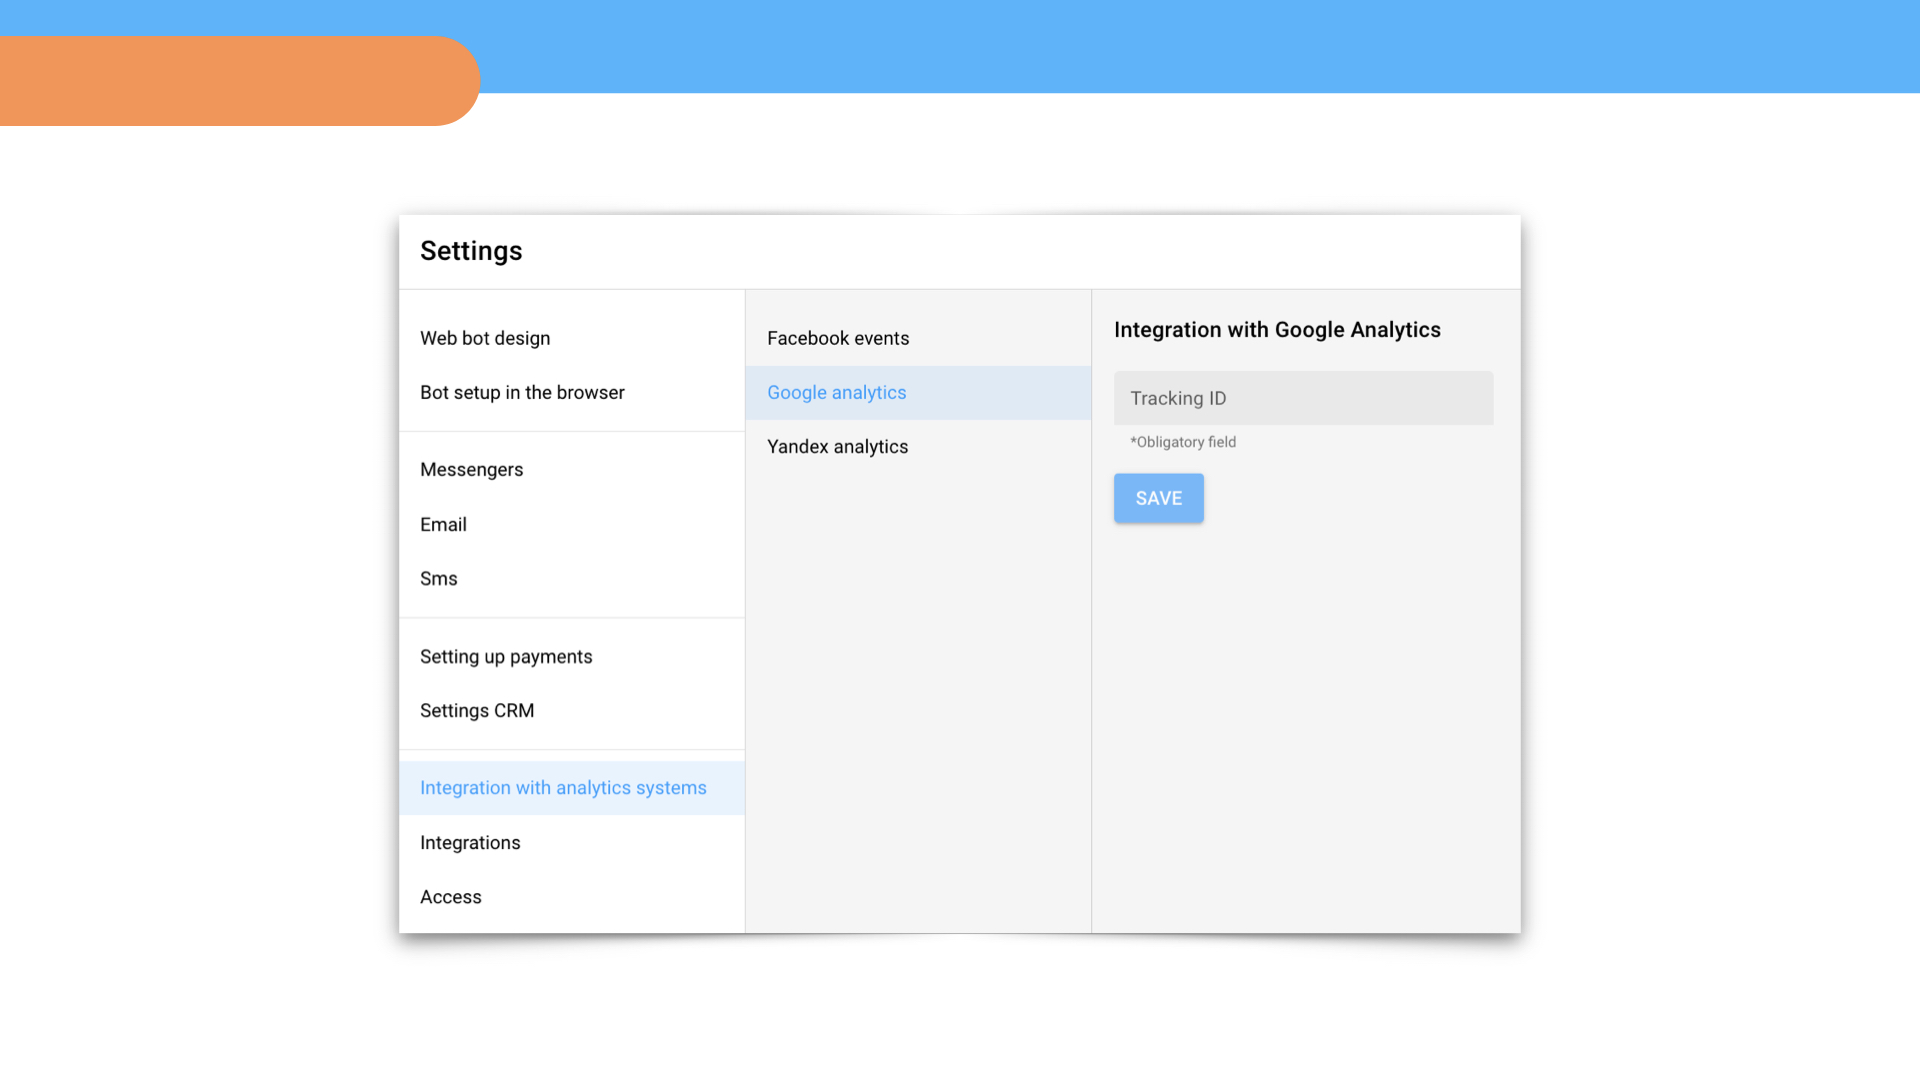
Integration with analytics systems
Here you can configure the integration of a chatbot with analytics systems: Facebook Events, Google Analytics, Yandex Metrika. This will help track and analyze the behavior of website visitors.
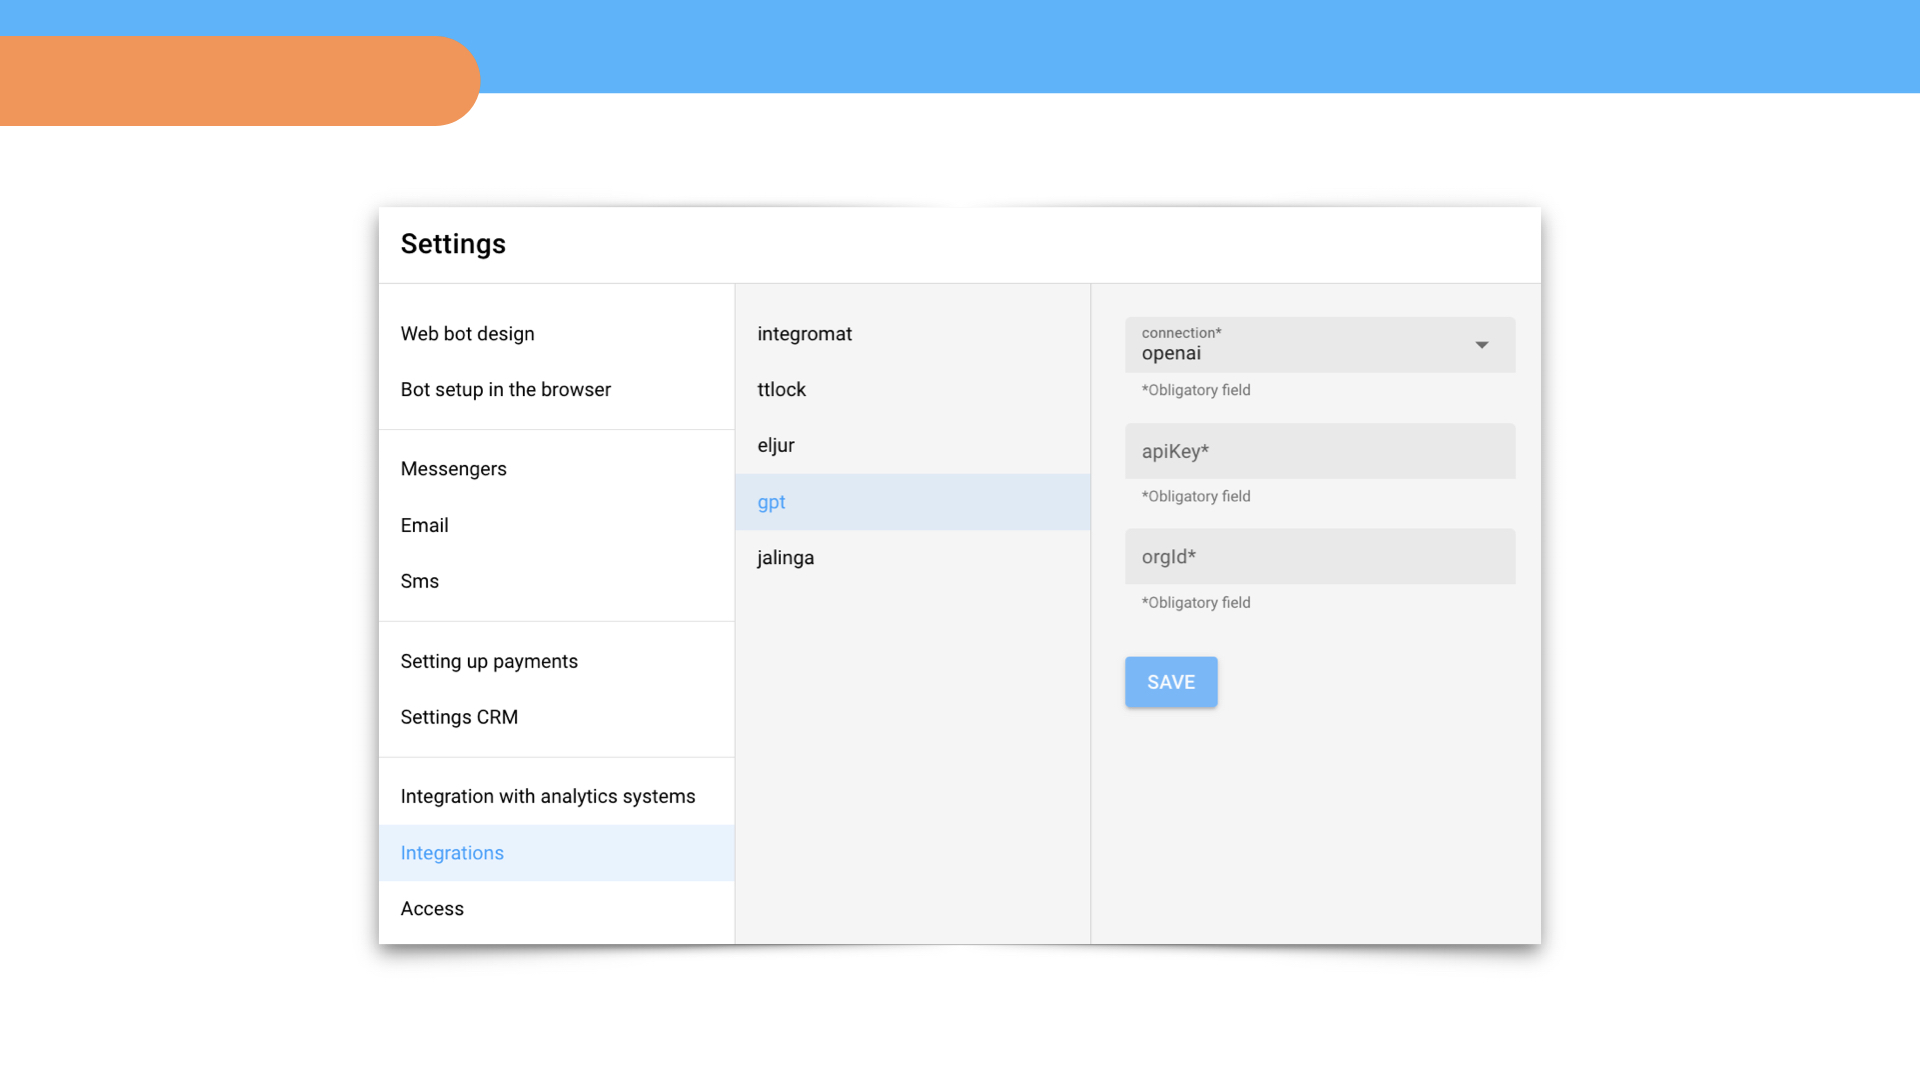
Integrations
Integromat is a platform that allows you to connect your bot with other applications.
Ttlock is a platform that allows you to create smart locks and control access to premises through an application.
GPT – using the platform platform.openai.com you can configure BorisBot.com integration with ChatGPT via API. This will allow the creation of chatbots based on artificial intelligence.
Access
This block displays all project participants. You can add new people by selecting the access level: administrator, editor or operator.
Administrator – has all the rights of a project owner.
Editor – can add and edit scripts, but cannot change settings or delete scripts.
Operator – can only work in the Dialogs section.