How does it work?
A client activates the script using a QR code, link or on the website and goes to the messenger. The bot offers to order pizza and drinks.
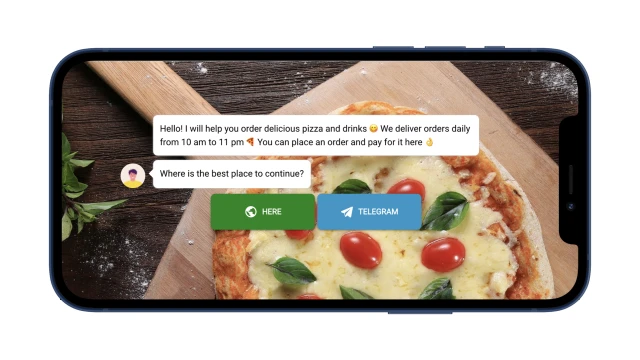
If a user logs in for the first time, the bot offers to save delivery data: name, phone number, address, and adds them to the table. When a client has already made an order, the bot remembers this and checks the relevance of the data each time: if it has not changed, it immediately moves on to choosing food and drinks; if there are changes, it updates the data in the table and then places an order.
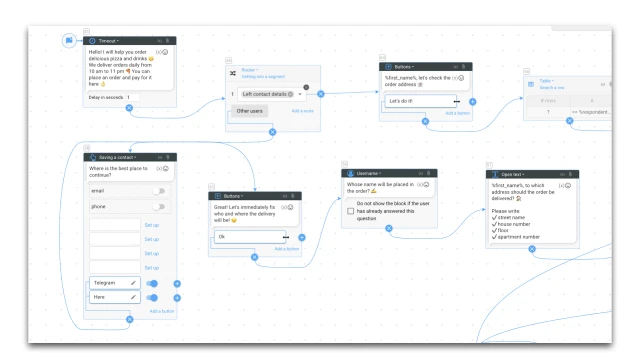
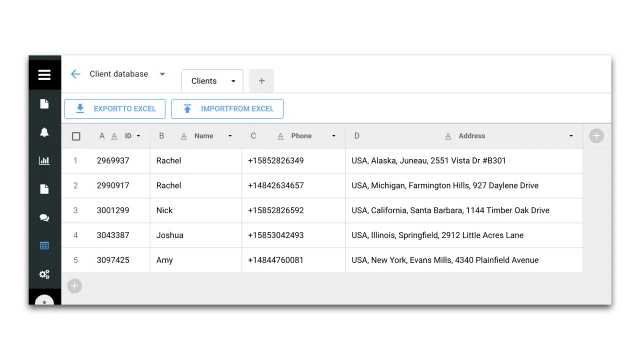
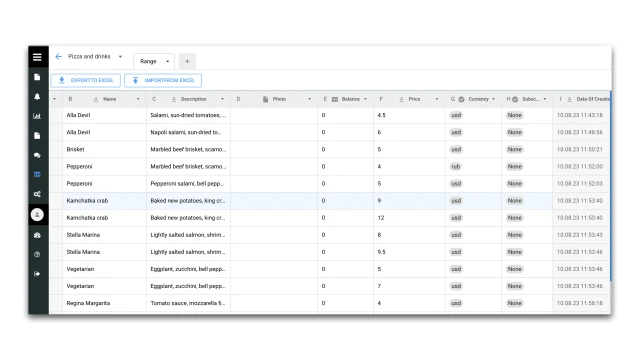
The bot finds out a client’s preferences and offers suitable options for pizza and drinks. All items are collected in a table with products, which must be kept up to date.
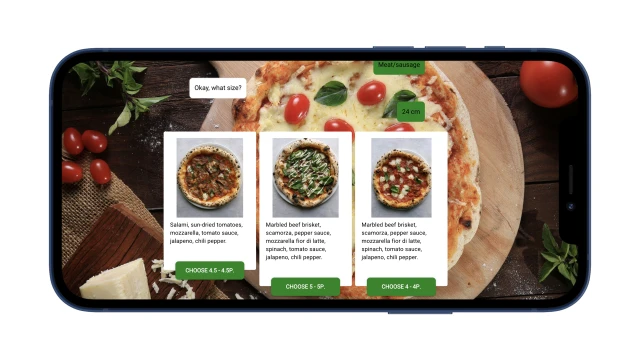
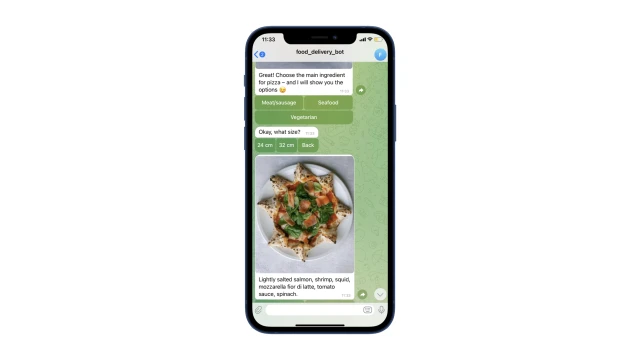
When a client has decided on the order, the bot offers to pay for it. This can be done directly in the bot.
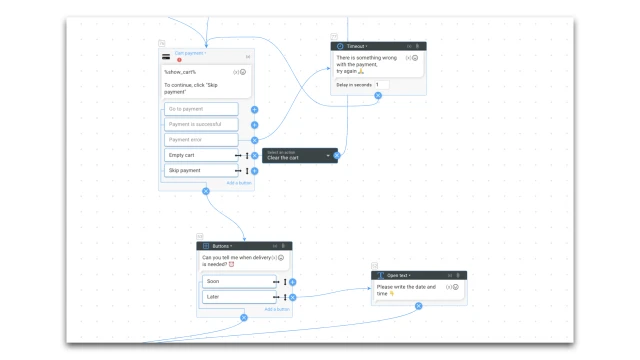
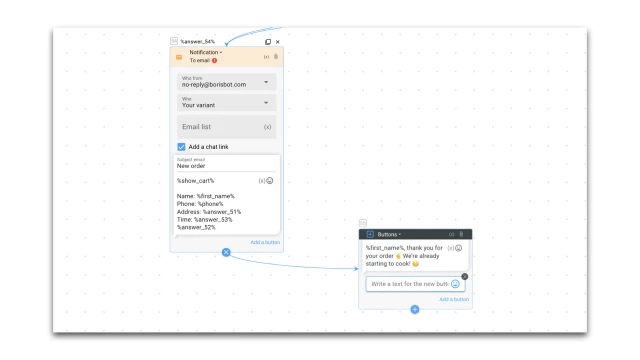
Next, the bot sends an email notification to an employee with order details.
What to do with the template?
1. Create a project in the designer and copy this template.
2. In the “Tables” section, add your range of food and drinks and indicate the parameters by which a client will choose the product (if additional criteria are needed). Columns can be deleted and new ones added.
3. If you plan to add new parameters, then add questions in the “Order” script and configure the blocks: “Table, string search” and “Carousel”.
4. In the “Settings” section, configure the messenger you plan to use.
5. In the “Settings” section, configure the bot to accept payments.
6. In the “Notification” block, add the email of the employees who will receive the order.
7. Test the bot.
If you have any questions, write to us on Telegram.
 Talpha


